Bring color to your dressing!
This is one of my favorite and creative diy project for my dressing table, i mean i have so many earrings and they just wont fit in the jewelry box. So hanging them on stand not only made it easy for me to select which one to wear every time i get ready, also i don't need to open my box again and again, they are all right in front of me! And to top it all, this little stand brings color to my dressing making it look more fashionable!
So lets start, and it wont take more them half an hour!
Things you'll need:
- Ice cream sticks (i bought them from a craft shop, already painted ones)
- Fixing glue
- Paint and paint brush (if you are using unpainted sticks, you will have to paint them)
I bought both colored and unpainted sticks, i used green and blue acrylic paints to paint the unpainted sticks.
Alright so once you have the sticks and paint, you start with painting each stick a different color, because i had yellow, pink and purple sticks already painted for me, i used green and blue to paint the rest. The more colors you use the more funky your stand will look.
After you're done with all the painting, put the sticks on a plastic sheet and let them dry.
Once the sticks have dried, take 4 sticks and make 2 upside down Vs like the ones below, both with the same angle, and glue each of them together.
Let the glue dry. And once its dried, place one V on top of another stick making 90 degree angle and fix it with glue. Repeat the same with other V.
Make sure the angle they are making is exactly the same, or else your stand might not be able to stand straight and it'll have trouble holding your earrings.
Once all the fixing is done and the stand holders you made are dried and ready to hold the face of your stand, place different colored sticks horizontally with some distance apart. Glue the base of the V shaoed holders and place it on top of the sticks.
Place the stand face down till the glue dries.
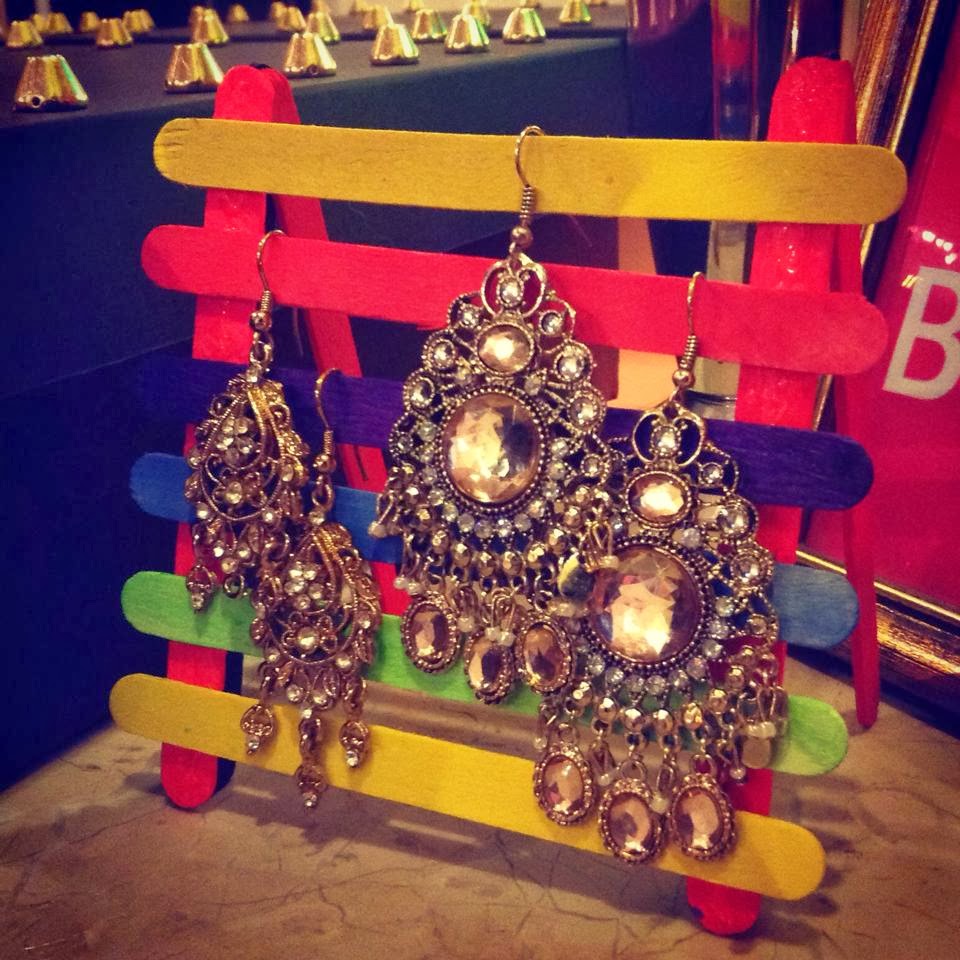
And that's it! Your amazing little earring stand is ready to hold your favorite earrings.
YOU DID IT!