Friday, March 7, 2014

Butter cream.

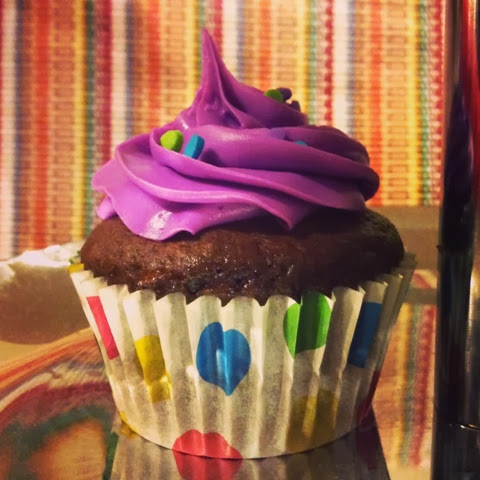
Butter cream, also known as vienna cream, is a popular, easy-to-make frosting to use on cakes, cupcakes. 
It's use to make patterns and styles and also, use to cover cake before applying fondant. 
Pipping butter cream is a tricky job. 


You can make as many different styles as you want. From flowers to swirls, butter cream is the best! 

I'v left my recipe unflavoured but if you want, you can use any extract, essence or any grated citrus rind you like to flavour it. 

Things you need:
- half cup butter (its important to have the butter at room temperature, not melted or too soft)
- 400 gms NETT icing sugar
- 2 tablespoons milk 
- food color (any color you want, optional)


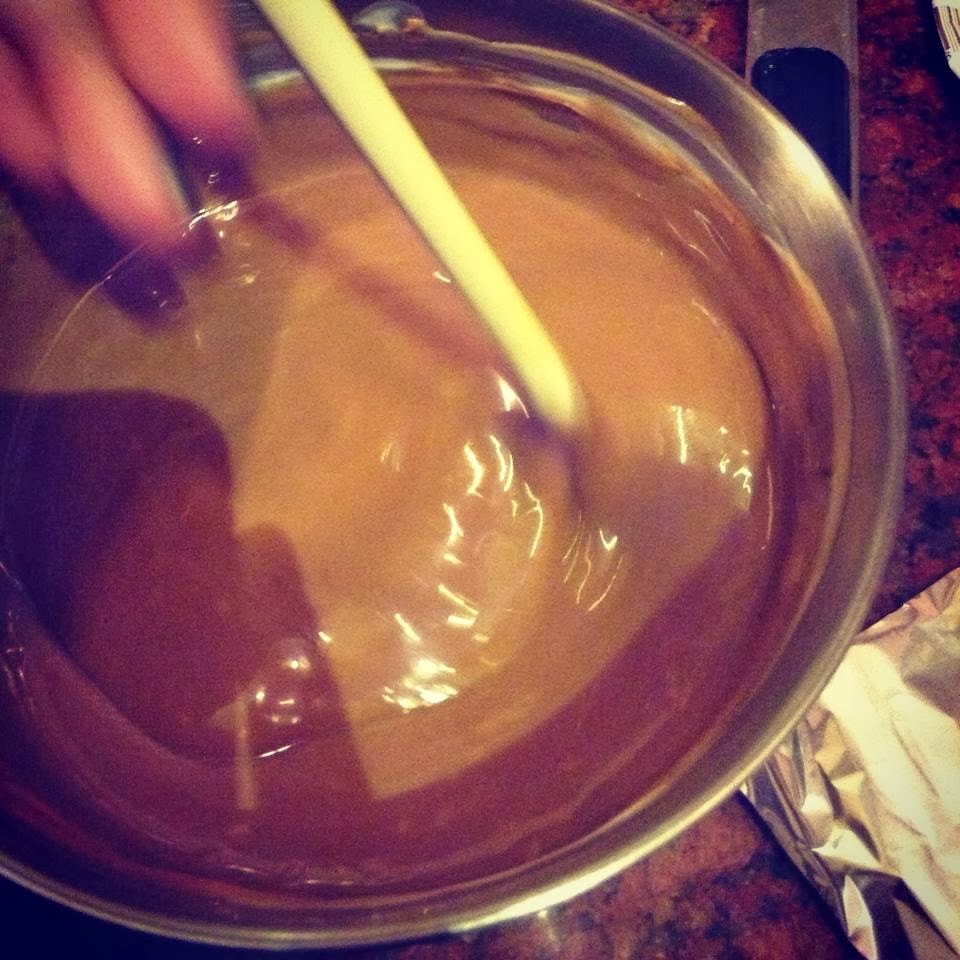
Put the icing sugar in a large bowl and add a little butter. Beat till it forms a texture like bread crumbs. Keep adding butter, spoon after spoon. 


Beat until the butter cream is smooth and spreadable. Keep scraping down the side of the bowl during beating. Add milk and beat again till smooth. 


       Add food color (any color you like) and beat. You can use your butter cream anywhere you like!


I used it to cover the cake before covering it with fondant. To smooth the surface. 


Tips: 
Coloured butter cream will change colour after few hours. Its a good idea to colour a small amount and let it stand overnight to see what happens. 
Butter cream will keep for about a week in the fridge. Allow it to come to room temperature before beating it again. If it's beating too cold, it will separate. 

        More butter cream ideas!


Wednesday, March 5, 2014

Makeup Tutorial

Get the look!
Golden brown smokey eyes and red lips is just the look i needed for my farewell party! Not because red lips are IN these days, but also because i wanted a completely different look. So this was it!


Things you need:
- Lakme CC cream
- essence mattifying compact powder
- NAKED 2 urban decay
- BOURJOIS golden contour clubbing waterproof eyeliner
- Essence liquid eyeliner
- essence I<3EXTREME mascara
- BOURJOIS paris depuis 1863 41 healthy mix
- color studio drop dead gorgeous 116 lipstick
- essence red gel tint
- essence eye lashes (optional)
BRUSHES I USED:
- essence eyeshadow applicators by zeena
- bobbi brown creme shadow brush


Start with covering your face with Lakme CC cream. 


When you'r done with the base, you can also apply essence mattifying
compact powder if your skin is oily. I skipped this though, because well, i don't need this in winters, but for me, in summers, this is a must!


Start with the eyes, i keep a separate eyeshadow brush for every shade, and essence eyeshadow applicator by zeena are my favorite. 


Cover your complete eye lid with the bootycall shade of naked2. Even the area under your eyebrows.


Cover half of your outer eye lid with the YDK shade and smudge well.


I used bobbi brown creme shadow brush for the smokey effect. Apply the blackout shade to the extreme outer end of your eye lid and smudge it to the middle. Close your eye, place the brush in middle of the crease, open your eye and smudge till the dark shadow is all smooth.


Apply bourjois golden contour clubbing to your inner lower lash line.


For the eyeliner, i used essence liquid eyeliner because of its matte effect, its not waterproof but its smudge-proof.


Once your liner is dry, complete your eye make with applying mascara. I used essence i<3extreme mascara, but again, its not waterproof.


For the cheeks, i used bourjois depuis 1863 41 healthy mix blush on. Make a big pout and apply the blush-on from your temporal tendon to your under cheek definition.


Now, for the lips, the best part, i used color-studio drop dead gorgeous lip stick and then applied essence red gel tint on top of it for a glossy look.


you can use fake eye lashes if you want darker smokey eyes! i used them on my farewell party.


And thats it! You're ready to head out and rock that party! 


Monday, March 3, 2014

Nutella brownie Cupcakes!

Secrets to perfect Nutella brownie cupcakes.
There are like many nutella cupcake recipes you can find easily on the internet, but when it comes to baking and following the recipe from the net, you end up with hard tasteless cupcakes, sometimes they are very soft, sometimes too sweet, and sometimes what-the-hell-on-earth-is-that? cupcakes and then you wonder if its your fault, that maybe you can't bake. But actually, many of the recipes you find over the internet are not perfect or exact. I'm following a recipe i got from weheartit.com and i'll be telling you the secrets which are missing.


This is the simple recipe i will be following, but hold on, is that it? well, NO! this recipe is missing few ingredients. 


Ingredients:
- 1 cup nutella
- 8 tblsp self rising flour
- 2 eggs
- 1/4 cup milk (my secret ingredient to moist cupcakes)
- baking powder (this is the important ingredient, helps in raising the cupcakes)


 Preheat the oven to 180 degree C. Put all the ingredients except milk in a larger bowl and whisk till smooth. 


              Add milk and whisk again till the mixture is shiny and smooth. Whisk for about 4-5 minutes.


Prepare the baking tray and line it with paper cups. You do not need to oil the tray if you have cupcake liners.


Pour the mixture into the cupcake tray and fill each cup to 3/4.


Bake for about 25 minutes or more till cooked properly. I check the cupcakes by inserting a clean toothpick in middle of a cupcake, if comes out clean, your cupcakes are ready!  


For the chocolate ganache:
- 1 cup thick whipping cream
- 1 cup dark or milk chocolate in small cubes


Melt the chocolate in whipping cream over low heat, keep stirring till the chocolate have melted properly.


Chocolate ganache is usually runny, if you want a thicker ganache you can store it in freezer for about 15 minutes and then beat it till it thickens.


ENJOY!